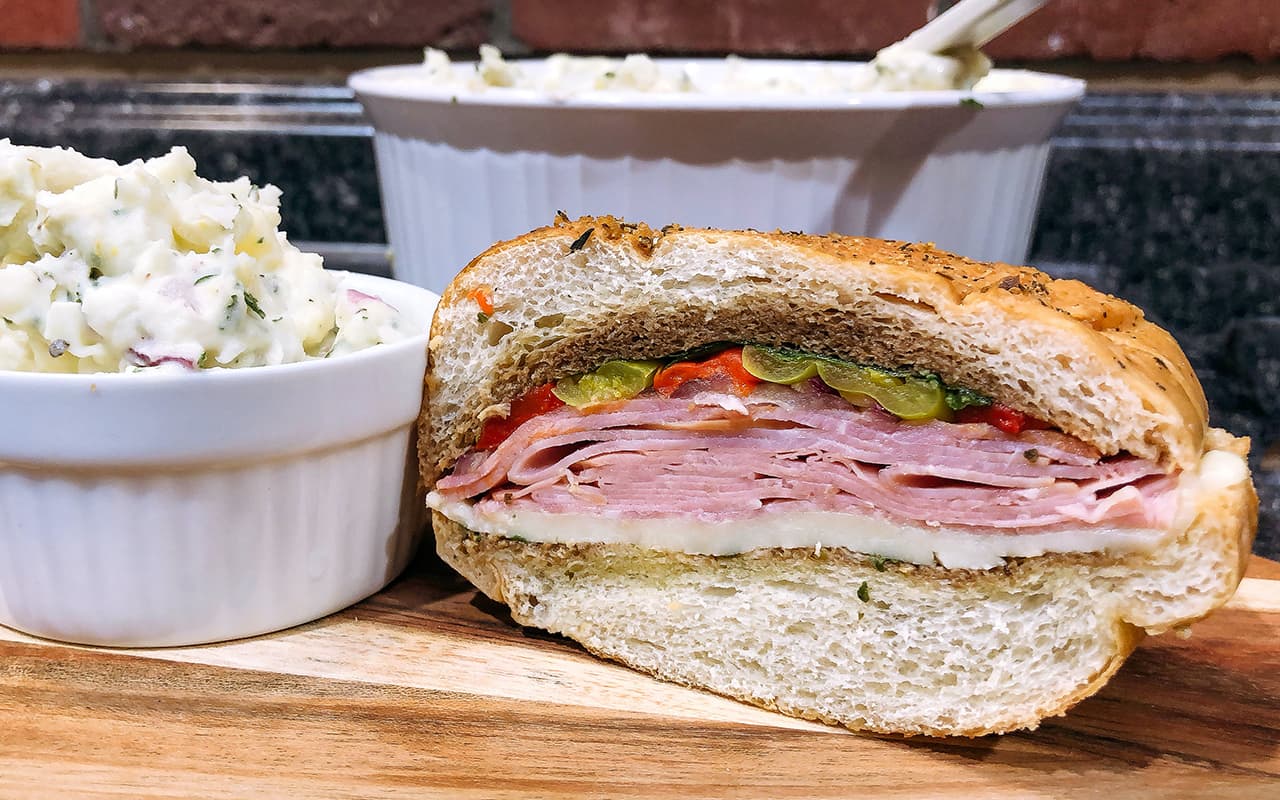
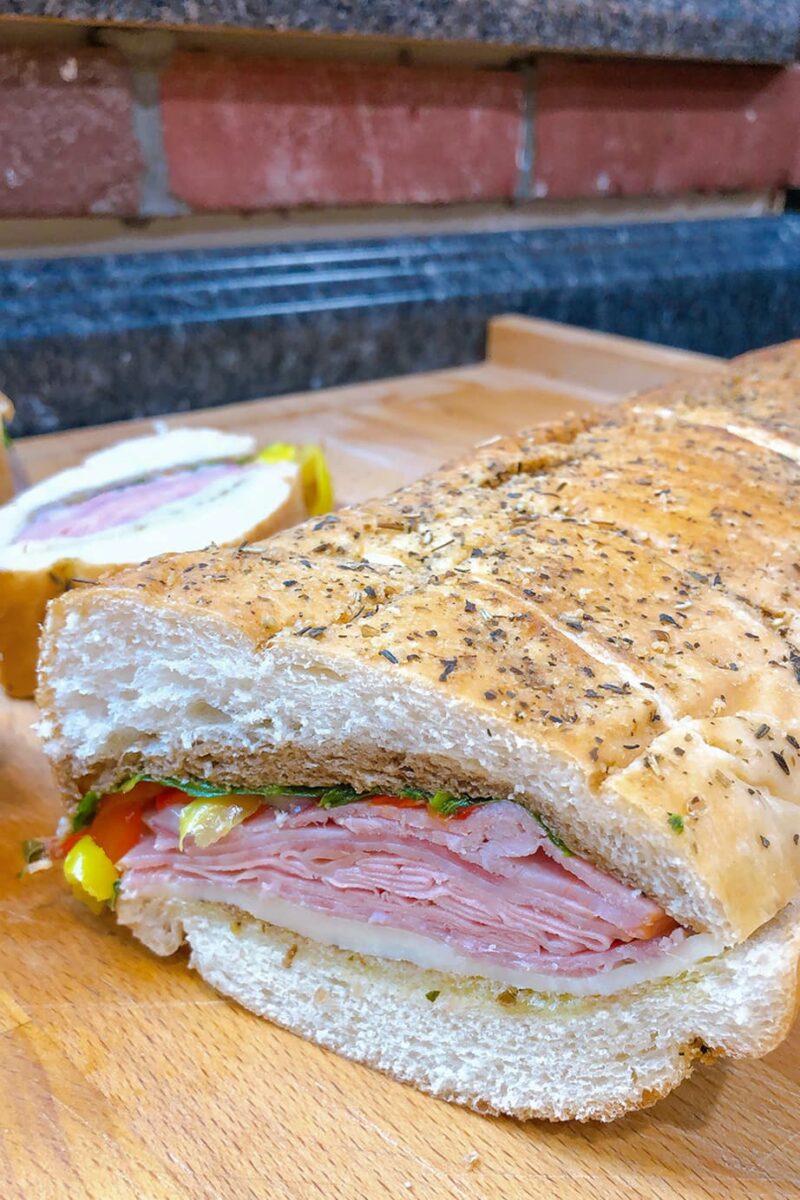
This Italian Sandwich recipe is what you get when you combine sliced deli Italian meats and cheese, Italian seasoning, sliced veggies and press it all together. This is one of our favorite picnic sandwiches because it can be made ahead and transported anywhere, even a campsite.

These Italian Sandwiches are best made ahead of time and then can be stored in the fridge at home, in an insulated tote or picnic basket for the park or beach, or inside an ice cooler (as a top layer) to take camping. If you are packing an ice cooler, I have some great tips on preventing soggy food in an ice chest.
This article contains affiliate links. We earn from qualifying purchases.
Pressed Italian Sandwich
Here’s what you’ll need. With a large of Italian bread, found at most grocery store delis, this recipe will be cut into 8-10 good-sized slices. You can do more or less depending on how you want to eat. It is easy to double and triple the recipe for a large party.

- 1 12-inch loaf soft Italian bread
- 1/4 pound sliced provolone cheese
- 1/4 pound sliced Genoa salami
- 1/4 pound sliced deli ham
- 1/4 pound sliced mortadella
- 1/4 pound sliced capicola
- Small jar of roasted red bell peppers
- 1/2 large red onion, thinly sliced
- 10-12 fresh spinach leaves
- 2 tablespoons red wine vinegar
- 2 tablespoons balsamic vinegar
- 1/4 cup extra-virgin olive oil
- Kosher salt and freshly ground pepper
- 1 1/2 teaspoons dried oregano
- 1 teaspoon dried basil
Can’t read now? Pin for later!

Side Dish Suggestions:
These are all side dishes and salads that travel well so you can pack them up to go wherever you’ll be enjoying these sandwiches.
- Crunchy Broccoli Salad
- Mom’s Potato Salad with Egg
- Sweet & Curried Chickpea Salad
- Russian Salad
- Pickled Carrots (if you want a little extra heat)
- Hummus with fresh finger veggies

How to Make an Italian Pressed Sandwich
- Plan to make these hearty sandwiches ahead of time. I usually do it in the morning the day we will eat them or as late as one hour before serving.
- Combine the olive oil, vinegars, thyme, basil, salt, and pepper in a small bowl.
- Next, cut the loaf in half and brush or drizzle the vinaigrette onto both sides of the bread.
- Next, pile on the deli meats, cheese, vegetables, and spinach onto the lower half of the bread.
- Then place the top half onto the lower half of the sandwich.
- Transfer the sandwich to a large piece of beeswax wrap (this is the one I use) or plastic wrap and wrap sandwich, making sure to compress it all as best you can. If you are taking this to the beach, picnic, or camping, you can precut the sandwich before wrapping and store in large freezer bags.
- Weigh down the sandwich to compress it further. If you are at home, you can top with a baking sheet with a heavy can on top. If you are camping, you can use a cast iron skillet or Dutch Oven lid.
- Just before you are ready to serve, unwrap the sandwich and cut into slices. If you’re taking these sandwiches camping, you can skip this as you probably already cut them at home before wrapping.

Italian Presssed Sandwich
Great make-ahead sandwich for weeknight dinners at home, picnics, backyard parties, potlucks, and even camping.
Ingredients
- 1 12-inch loaf soft Italian bread
- 1/4 pound sliced provolone cheese
- 1/4 pound sliced Genoa salami
- 1/4 pound sliced deli ham
- 1/4 pound sliced mortadella
- 1/4 pound sliced capicola
- Small jar of roasted red bell peppers
- 1/2 large red onion, thinly sliced
- 10-12 fresh spinach leaves
- 2 tablespoons red wine vinegar
- 2 tablespoons balsamic vinegar
- 1/4 cup extra-virgin olive oil
- Kosher salt and freshly ground pepper
- 1 1/2 teaspoons dried oregano
- 1 teaspoon dried basil
Instructions
- Combine the olive oil, red wine vinegar, balsamic vinegar, thyme, basil, salt, and pepper in a small bowl. Stir to combine well. Set aside.
- Cut the bread loaf in half lengthwise.
- Brush or drizzle the vinaigrette onto both sides of the bread.
- Add the deli meats, cheese, vegetables, and spinach onto the lower half of the bread.
- Place the top half onto the lower half of the sandwich and press down firmly with both hands.
- Transfer the sandwich to a large piece of beeswax wrap (this is the one I use) or plastic wrap. Wrap sandwich, making sure to compress it all as best you can.
- Weigh down the sandwich to compress it further. If you are at home, you can top with a baking sheet with a heavy can on top. If you are outdoors/camping, you can use a cast iron skillet or Dutch Oven lid.
- Continue to press sandwich for at least one hour, but longer is better. Refrigerate until ready to serve.
- Just before you are ready to serve, unwrap the sandwich and cut into slices.
Notes
If you’re taking these sandwiches camping or to an outdoor event like a picnic, you can cut this sandwich into 4 large segments. Wrap each segment in plastic wrap and store in a freezer-safe plastic bag for easy storage.
Recommended Products
As an Amazon Associate and member of other affiliate programs, I earn from qualifying purchases.
Nutrition Information:
Yield:
10Serving Size:
1Amount Per Serving: Calories: 289Total Fat: 20gSaturated Fat: 7gTrans Fat: 0gUnsaturated Fat: 12gCholesterol: 38mgSodium: 991mgCarbohydrates: 12gFiber: 6gSugar: 3gProtein: 18g
Best Sub Sandwich Bread
When it comes to the best sub sandwich bread, I like a large loaf of Italian bread. It can be loaded high and compresses well without getting soggy. That’s what the above recipe uses and can be cut into 8 dinner portion slices. If you want to make smaller portions or not pressing this sandwich, a crusty baguette, ciabatta loaf, or hoagie rolls will also work. Portion size will vary depending on the bread size on this.
Be sure to check out these other sandwich recipes:


I just have to try to do it! It looks incredibly delicious! I love burgers, but we didn’t usually make them ourselves, we ordered them . Thank you for sharing the recipe, it was useful for me, I will definitely try.
I’ve made these several times, but hope to freeze some, since I have leftover ingredients and company expected in three weeks……can I do that?
I’ve never frozen this sandwich, so I can’ speak to how well it would do. I’d imagine that you can freeze the individual items just fine and then thaw and assemble
This Italian sandwich sounds like a picnic dream! I love that it can be prepped ahead. It reminds me of the time I made a similar sandwich for a beach day. It was a hit! Do you think adding a bit of balsamic glaze would take it to the next level? And how do you keep the veggies from getting too wilted when packing?